Overview
Parts data can be managed manually. The bulk upload process is recommended for entering large amounts of parts data. For small amounts of data, manual entry in the parts administration area may be faster.
Administration
- Navigate to the Admin Home page.
-
Click Parts in the Products section.
-
Click Add New Part.
-
In the Product Information section, enter information for the items shown in the following table.
Product Information Settings Part Number This number must be unique. Part Display Number A second part identifier. For more information, see the topic Part Display Number. Default UOM Code Default unit of measure Eligible to Sell Eligible to sell or order Enable Customer Self-Service Customer Self-service flag Eligible for Service Eligible for service Sales Product Type Sales product type External Key 1 External system's key 1 External Key 2 External system's key 2 Price Period Default price periodicity Price Type Default price type Number of Price Periods Default number of price periods Direct Buy Choose a buy type using the drop-down.
- Direct Buy: Part can be purchased by itself
- Buy Parent Part: Part must be purchased along with a parent part
- Buy as Recommended Item Only: Part can only be purchased through a recommended item rule.
Description Enter a plain text description for the part. Extended Description
1 and 2Enter plain text or formatted HTML part descriptions.
Click Edit to open the HTML Editor. Use the editor to enter and edit a subset of HTML. You can also link images to the HTML and generate image rollovers.Units Enter the units of measure for the part number.
Lead Time Enter, in days, the time it takes to ship the part after a customer has ordered it. Service Duration Type Type of duration for an item that fulfills a service contract. Acceptable values:
- O (Open)
- V (Variable)
- F (Fixed)
Service Duration The duration to service a product, measured in the unit of Service Duration Period. Only applicable to a product that fulfills a service contract. Service Duration Period The time period unit in which a product is service, e.g., month or year. Only applicable to a product that fulfills a service contract. Company Associations Parts that only users from selected companies have access to. For more information, see the topic Company Associations. -
In the Pricing Information section, enter a price for each of your supported currencies.

When a price exists in your base currency, but no other currencies, pricing will be available in those other currencies if exchange rates exist.
For more information on exchange rates, see the topic Exchange Rates.
-
In the Extended Information section, enter custom part field information, refer to Part Custom Fields for more information.
-
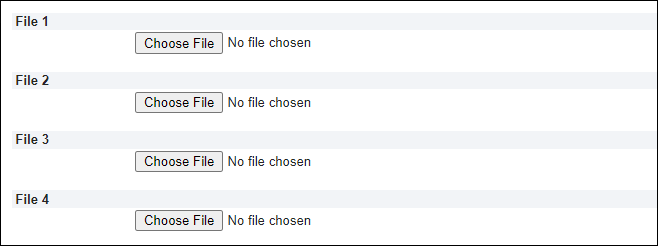
Click Browse to upload and associate up to four square images with the part for the File 1, File 2, File 3, and File 4 fields.

-
If translations are needed, click Translations at the bottom of the page to add and edit translations for the part description, units, and extended descriptions for each of the site's enabled languages.
-
Click Add to save your changes and return to the previous page.
The new part has been added. The Part Search Results page opens and displays the part numbers matching your new part's number.
 Navigate to the Part Search Results page.
- Click Admin to go to the Admin Home Page.
-
Click Parts in the Products section.
The Parts Search for Admin page opens.
-
Enter a value in the Part Number field and click Search.
The Part Search Results page opens.
-
Click the value in the Number column for the part you want to edit.
The Part Administration page opens.
- Make your changes. Click Update to save your changes and return to the previous page. Click Apply to save your changes and remain on the page.
 Navigate to the Part Search Results page.
- Click Admin to go to the Admin Home Page.
-
Click Parts in the Products section.
The Parts Search for Admin page opens.
-
Enter a value in the Part Number field and click Search.
The Part Search Results page opens.
- Select the checkbox corresponding to the part to be deleted.
-
Click Delete.
A refreshed view of the Part Search Results page shows the deletion.
Use caution when deleting parts.
All parts associations are deleted with the part.
Deleted parts cannot be recovered.
Making a part inactive, instead of deleting it, is a good strategy for maintaining historical part data, or saving part data for possible future use.
To inactivate a part, see the Use Case in the topic Part Filters.
Administrators can retrieve a specific translation of a Part Description using BMQL.
Specify language parameters using a local variable or attribute variable.
- If a language value is set, that value is returned
- If the value is blank, the site’s base language is called.
- If the BMQL query doesn’t contain a language parameter, the user’s session language is used.


