Email Designer Editor
Overview
Use the Email Designer editor to add content to a template.
Administration: Email Designer Editor
 Email Designer Editor
To edit a template, click the template’s name in the Email Templates page. The Email Designer editor opens.
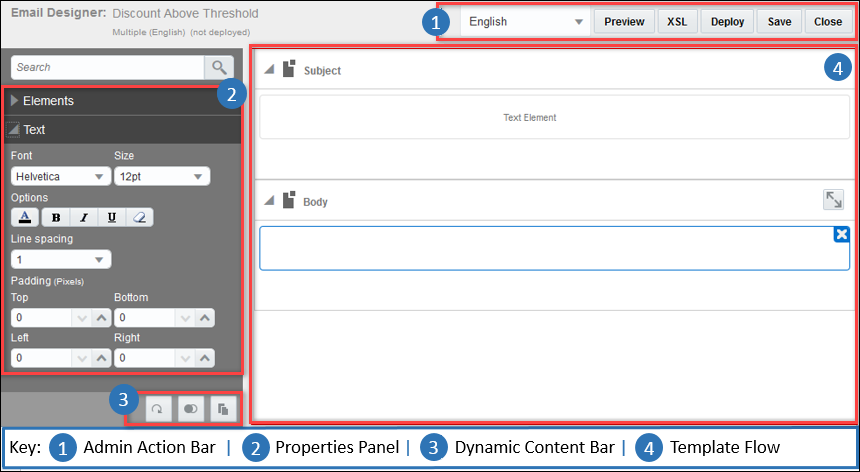
Admin Action Bar (1)
The Admin Action Bar will always contain (at minimum) the following four buttons:
- Preview
- Deploy
- Save
- Close
If the site’s Application Administrator is modifying a template, an XSL button will also be present in the Admin Action Bar. All other users that access the Email Designer editor will not see the XSL button.
If the template is a multi-language template, a Language drop-down will also be present in the Admin Action Bar.
The Language drop-down determines the Language View of the Template Flow, where content is added and edited. If the default language is selected, all administration tasks can be done, and content can be added in the default language. If another language is selected, Text Elements can have translations added to them, but no other administration tasks can be done.
See the topic Email Designer: Languages and Translation.htm for more information.
The Preview button takes the user to the Preview page where the template will be previewed in HTML using data from the Transaction that was most recently opened. On the Preview page the admin can choose to preview the template using data from a different Transaction.
To preview the output of a template:
- Click Save to save all changes to the template. Only saved changes will appear in the preview.
-
Click Preview on the Admin Action Bar.
The Preview page opens. The template will automatically be previewed in HTML using data from the Transaction that was most recently opened. The Subject of the email is the first line of the preview. All subsequent lines hold the email’s body.

To preview using data from a different Transaction:
-
Select a Transaction ID from the Transaction ID drop-down, or enter a Transaction ID into the field. The ten Transactions that were most recently opened can be selected in the drop-down.
For more information, see the topic Finding the Transaction ID.
- Click View.
The XSL button reveals the XSL code that makes up the template, in a new tab in the browser. This button is only available to a site’s Application Administrator. An Application Administrator can only view the template’s XSL and not modify the code.

Two buttons in the Admin Action Bar, Subject and Body, control what XSL is shown. When the XSL page is first opened, the XSL for the Subject of the email is shown. The admin can click Body to view the XSL for the body of the email. When Body is selected, clicking Subject will reveal the XSL for the Subject of the email, and vice-versa.
If the template is a multi-language template, a Language drop-down will also be present in the Admin Action Bar. The admin can use the Language drop-down to view the XSL for each translated template. A language will only appear in the drop-down if at least one Text Element in the template has that a translation defined for the language.
Deploy
An Email Designer template can be deployed from within the Email Designer editor. The Deploy button deploys all saved changes in the template to Commerce so that they take effect the next time an email is sent on the user-side of the application.
Save
The Save button saves all changes made to the template since the template was opened or since the previous save. This allows for unwanted changes to be undone, as an admin can close the template without saving in order to lose any unwanted changes that were made since the last save.
Changes to an Email Designer template are not automatically saved.
Close
The Back button is now named Close. The Close button closes the Email Designer editor and returns the user to the Email Templates page. When the user clicks Close, a confirmation pop-up appears to warn that unsaved changes will be lost.
Properties Panel (2)
The Properties panel contains several panes.
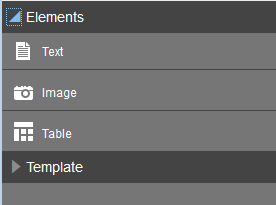
The Elements pane contains all Elements that can be added to the Template Flow via drag and drop.
The Properties pane contains properties of the currently selected Element that can be modified. See each individual Element’s section for more information on what properties are shown in the Properties pane when each Element type is selected.
If more than one Element is selected, the Properties pane only shows the properties that all selected Elements have in common.
By selecting more than one item, you can edit the properties of each item at the same time. This ensures consistency in the property selections, and is more efficient than editing each item one at a time.
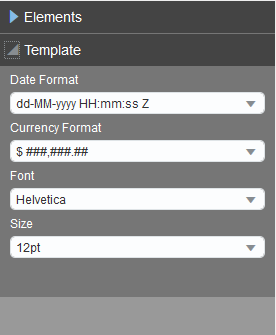
If no Element is selected, the Properties pane shows the properties that relate to the template as a whole. To reveal these Template properties, click an empty space in the Admin Action Bar or in the Template Flow.
|
Date Format
|
The format that determines how all date attributes appear in the output.
|
|
Currency Format
|
The format that determines how all currency attributes appear in the output.
|
|
Font
|
The default font.
|
|
Size
|
The default font size.
|
Changes made at the Template level will override any previous Font and/or Size customizations made at the Text Element level. Edit Text Elements individually to override changes made at the Template level.
Font and Size values selected at the Template level do not act as a default to newly added Text Elements.
Dynamic Content Bar (3)
The buttons available in the Dynamic Content Bar will vary based on what is selected.
|

|
Loop
|
|

|
Condition
|

|
Copy
|

|
Paste
|

|
Clear Row, Column, or Cell
|

|
Merge Cells
|

|
Split Cell
|
Template Flow (4)
This is the area where all the content is developed. Working in the Template Flow is covered below.
Using the Email Designer Editor
The Template Flow is the main editing area of the Email Designer editor. It contains the Subject and Body sections.
Subject
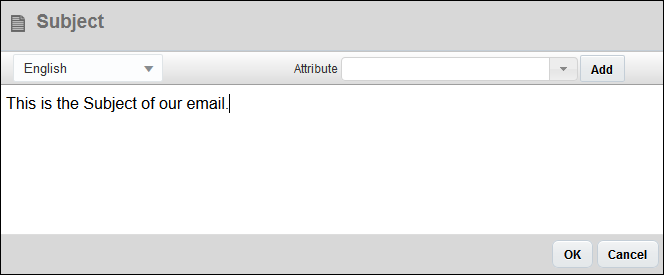
To customize the Subject section:
-
Double-click within the Text Element in the Subject section.

The Subject dialog box appears.
-
If it is available, select a supported language from the drop-down.
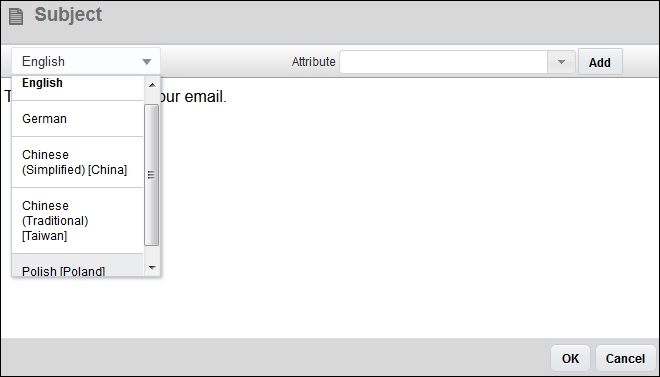
- Enter the desired text.
- Click OK.
Attribute values can also be added to the Subject. For more information on adding attribute values, see the topic Email Designer and Attributes.
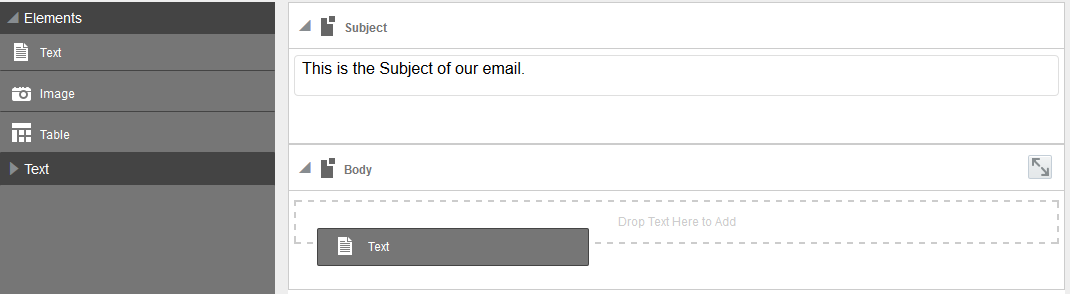
Body
Elements are added to the Body section of the template via drag and drop.
To add an Element to the Template Flow:
- Click Elements in the Properties panel to expand the Elements pane.
-
Click and drag the Element you wish to add to the template into the Body in the Template Flow.
Managing Elements in the Template Flow
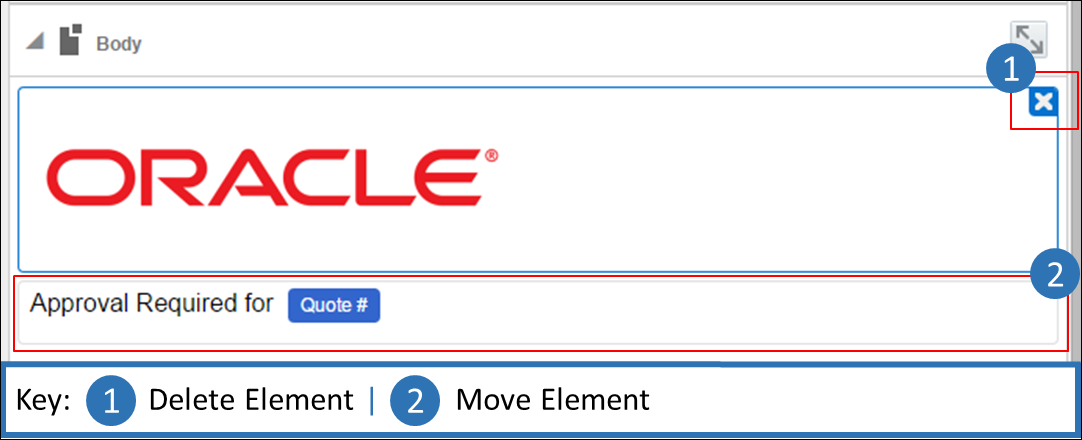
Moving and Deleting Elements
|
1
|
Hover over or select an Element to reveal the Delete (  ) icon. Click the Delete icon to remove the Element from the template. A confirmation dialog box will appear to confirm that the Element should be deleted. ) icon. Click the Delete icon to remove the Element from the template. A confirmation dialog box will appear to confirm that the Element should be deleted.
|
|
2
|
Rearrange Elements in the Template Flow by clicking and dragging the Elements to new locations.
|
To select multiple Elements, select the first Element and then hold down the Ctrl key while selecting other Elements. When more than one Element is selected, click Delete button in the Dynamic Content Bar to delete all selected Elements.
Copy and Paste
Within a template, Elements can be copied and pasted to different places within the Body section. All properties between the copied and pasted Element will be identical until otherwise modified.
Multiple Elements can be copied and pasted at once.
To copy and paste one or more Element(s):
- Select one or more Element(s) in the Template Flow.
- To select more than one item, click on the first item and press the Ctrl key while clicking the other item.
- Click the Copy button (
 ) in the Dynamic Content Bar.
- Select a blank place in the Template Flow so that no Elements are selected.
- Click the Paste button (
 ) in the Dynamic Content Bar.
Pasted Elements will always be placed at the bottom of the Body section when they are pasted.
Notes
-
Oracle CPQ 20B implements XML Translation Line Limits to prevent performance issues that could occur when generating XML for quotes with an extremely large number of transaction lines.
-
The operating system and the email client need the same fonts installed for the template to appear accurately on the page.
Related Topics
See Also


