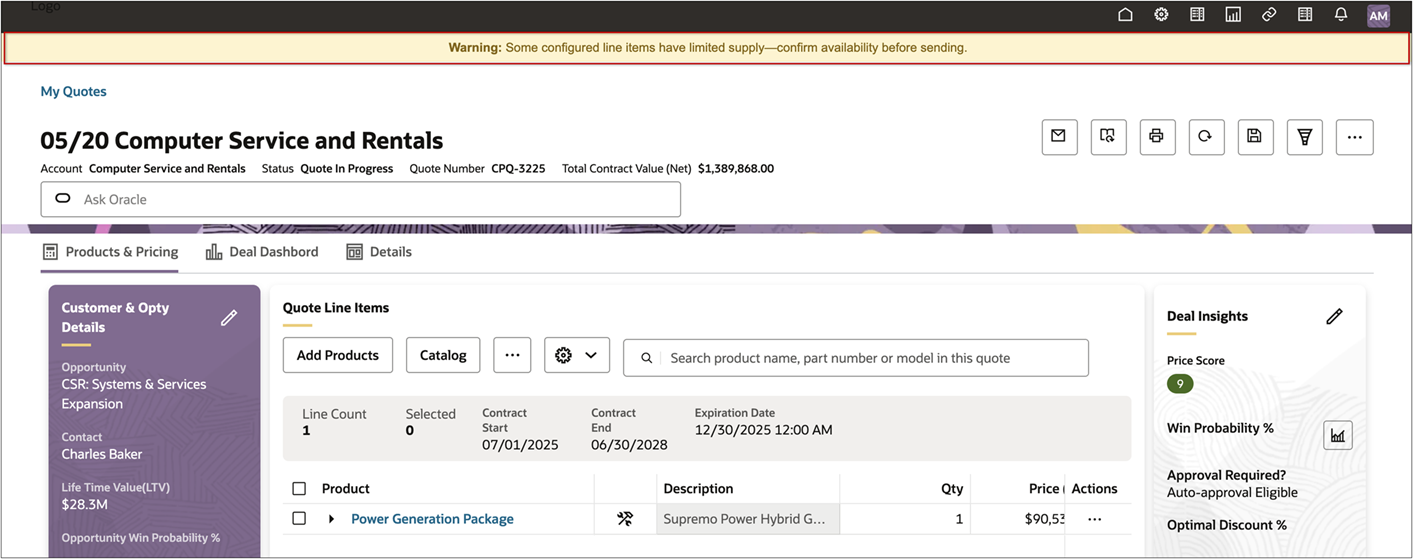
Header
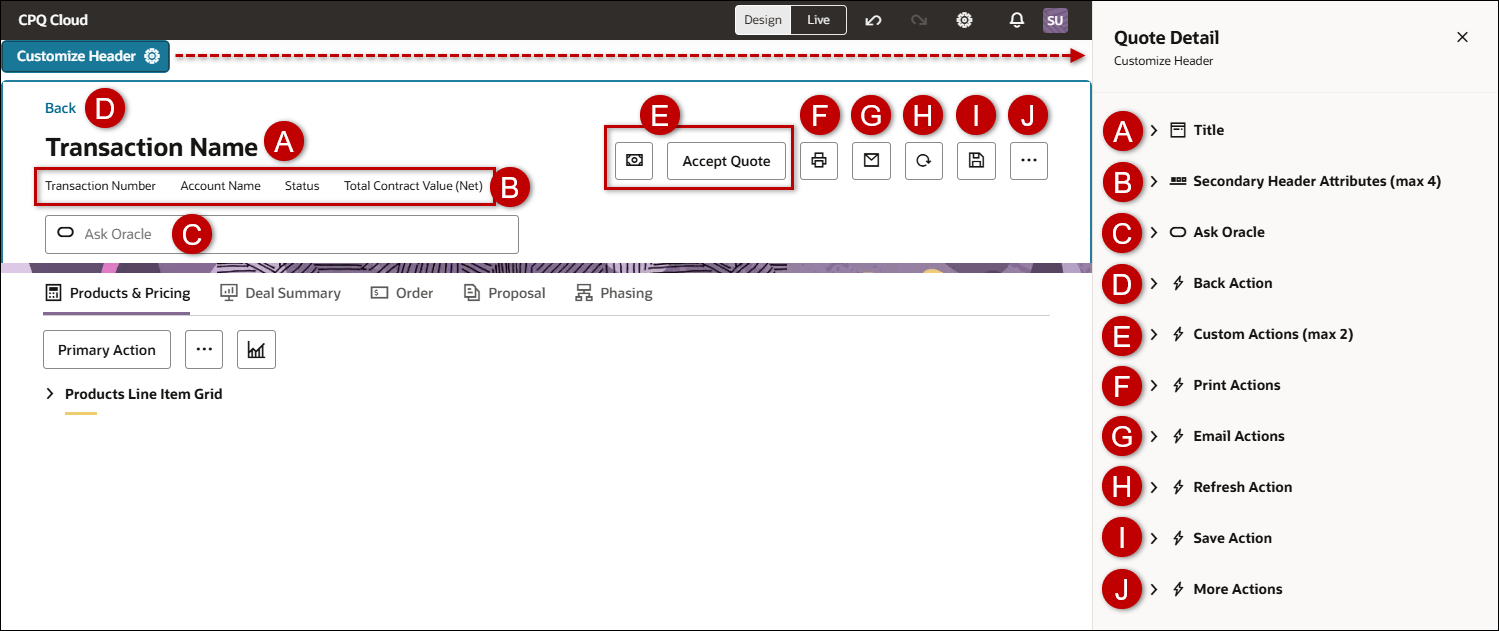
The header is displayed at the top of the transaction / quote. The header can contain the following items:
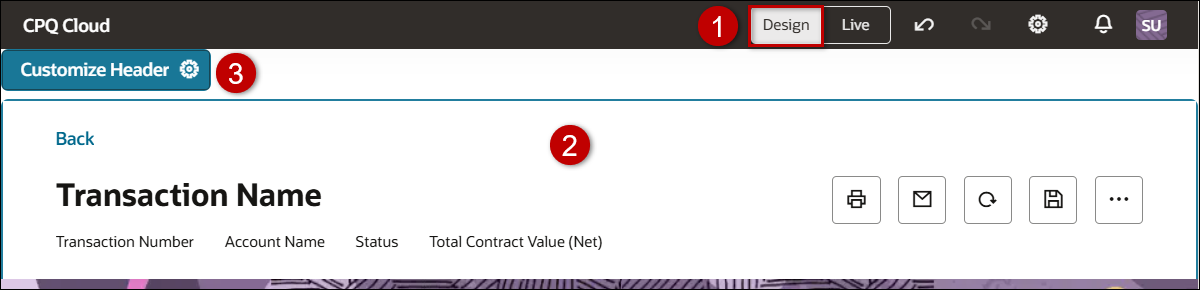
To access Customize Header settings:
-
Open or create a Redwood quote, then click Design.
-
Click inside the quote header section.
-
Click Customize Header

A. Title
-
Click Title.
-
Select the applicable attribute from the Header Title drop-down.
-
Click the Delete icon
 to remove the header title.
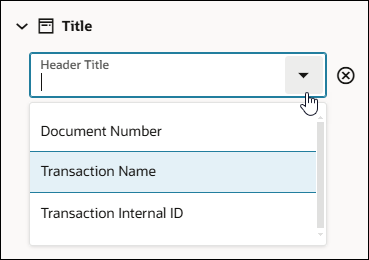
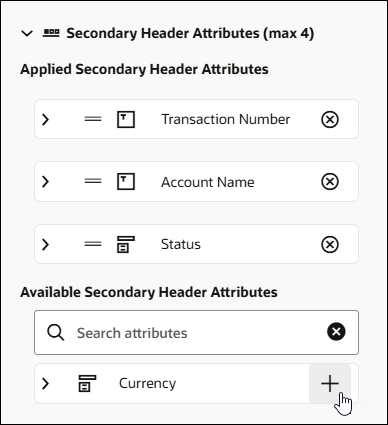
B. Secondary Header Attributes
-
Click Applied Secondary Header Attributes to view attributes displayed in the quote header section.
-
Click the attribute Delete icon
to remove an attribute from the header. -
Click Available Secondary Header Attributes to view attributes that can be added to the header.
-
Click the attribute Add icon + to add an available attribute to the header.
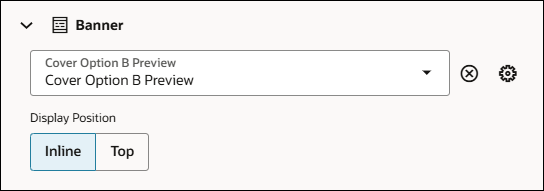
C. Banner
In the Redwood Quote Designer, administrators can now enhance the quote header by adding a Banner using the Customize Header option. The banner can be positioned either Inline or at the top, allowing teams to highlight important information, brand elements, or contextual messages directly within the quote layout.
-
Click Banner.
-
Select the applicable HTML type attribute from the Banner drop-down.
-
Click the action Delete icon
to remove the banner from the header. -
Select the Display Position.
-
Inline
-
Top
-
D. Back Action
![]() Customize the Header Back Action
Customize the Header Back Action
-
Click Back Action.
-
Select the applicable Back type action from the Back Action drop-down.
-
Click the Delete icon
to remove the back action.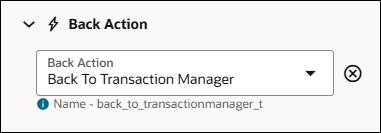
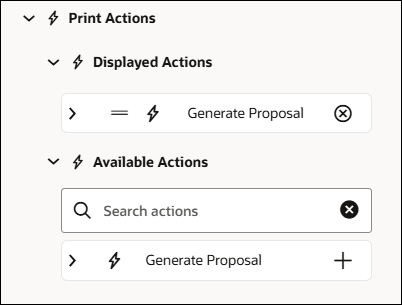
E. Print Actions
![]() Customize Header Print Actions
Customize Header Print Actions
-
Click Print Actions.
-
Click Displayed Actions to view print actions displayed in the header.
-
Click the action Delete icon
to remove a print action from the header. -
Click Available Actions to view print actions that can be added to the header.
-
Click the action Add icon + to add an available print action to the header.
-
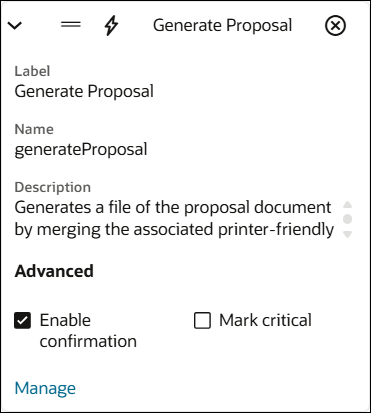
Open the print action to enable a user confirmation prompt.
-
Select Enable confirmation to display a Confirm Action dialog when the action is invoked.
-
Select Mark critical to display a critical Confirm Action dialog when the action is invoked.
-
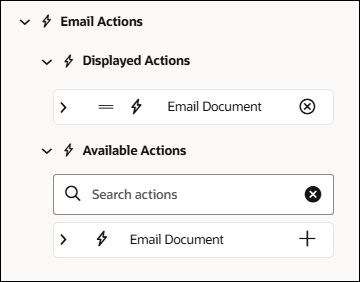
F. Email Actions
![]() Customize Header Email Actions
Customize Header Email Actions
-
Click Email Actions.
-
Click Displayed Actions to view email actions displayed in the header.
-
Click the action Delete icon
to remove an email action from the header. -
Click Available Actions to view email actions that can be added to the header.
-
Click the action Add icon + to add an available email action to the header.
-
Open the email action to enable a user confirmation prompt.
-
Select Enable confirmation to display a Confirm Action dialog when the action is invoked.
-
Select Mark critical to display a critical Confirm Action dialog when the action is invoked.

-
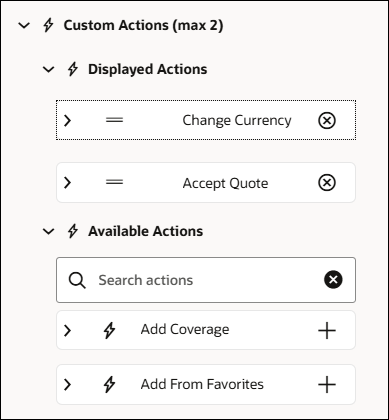
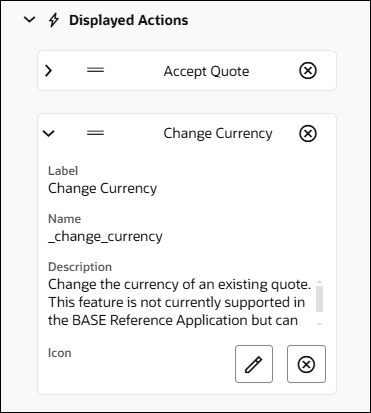
G. Custom Actions
![]() Customize Header Custom Actions
Customize Header Custom Actions
-
Click Custom Actions.
-
Click Displayed Actions to view custom actions displayed in the header.
-
Click the action Delete icon
to remove an action from the header. -
Click Available Actions to view actions that can be added to the header.
-
Click the attribute Add icon + to add an available action to the header.
-
Custom actions can be displayed as text or as an icon.
-
Click the Edit icon
 to select or update an icon.
 -
Click the Delete icon to remove the icon.
-
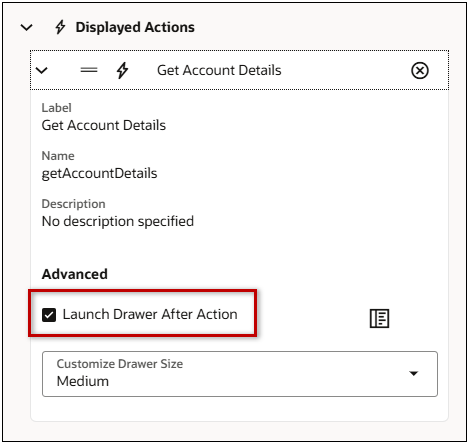
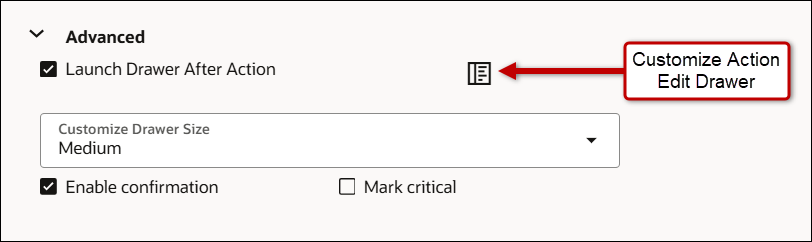
The following Advanced options are available for modify-type actions:
-
Open a drawer when the user invokes this action.
-
Select the Launch Drawer After Action setting.
-
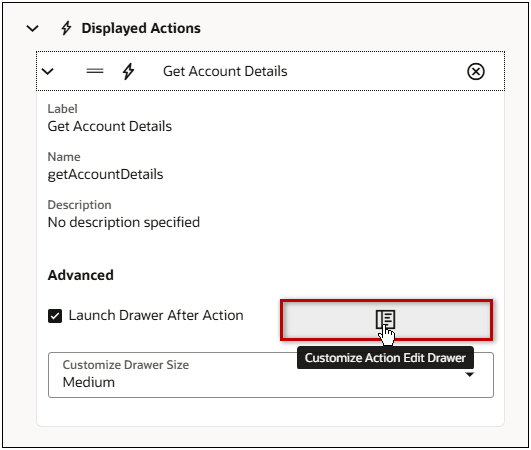
Select the desired size from the Customize Drawer Size drop-down.
-
Click the Customize Action Edit Drawer to customize the drawer.
-
Refer to Quote Designer > Redwood Quote Sections for information about adding items and customizing the action drawer.
-
-
Enable a user confirmation prompt.
-
Select Enable confirmation to display a Confirm Action dialog when the action is invoked.
-
Select Mark critical to display a critical Confirm Action dialog when the action is invoked.
-
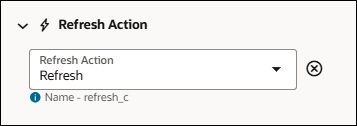
H. Refresh Action
![]() Customize the Header Refresh Action
Customize the Header Refresh Action
-
Click Refresh Action.
-
To display a refresh action in the quote header section, select and action from the Refresh Action drop-down.
-
Click the action Delete icon
to remove the refresh action from the header. -
Click Advanced to enable a user confirmation prompt.
-
Select Enable confirmation to display a Confirm Action dialog when the action is invoked.
-
Select Mark critical to display a critical Confirm Action dialog when the action is invoked.
-
I. Save Action
![]() Customize the Header Save Action
Customize the Header Save Action
-
Click Save Action.
-
To display a save action in the header, select and action from the Save Action drop-down.
-
Click the action Delete icon
to remove the save action from the header.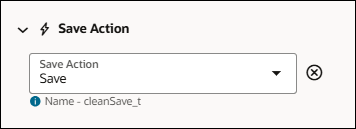
-
Click Advanced to enable a user confirmation prompt or to launch a drawer after the user click Save.
-
Open a drawer when the user invokes this action.
-
Select the Launch Drawer After Action setting.
-
Select the desired size from the Customize Drawer Size drop-down.
-
Click the Customize Action Edit Drawer to customize the drawer.
-
Refer to Quote Designer > Redwood Quote Sections for information about adding items and customizing the action drawer.
-
-
Enable a user confirmation prompt.
-
Select Enable confirmation to display a Confirm Action dialog when the action is invoked.
-
Select Mark critical to display a critical Confirm Action dialog when the action is invoked.
-
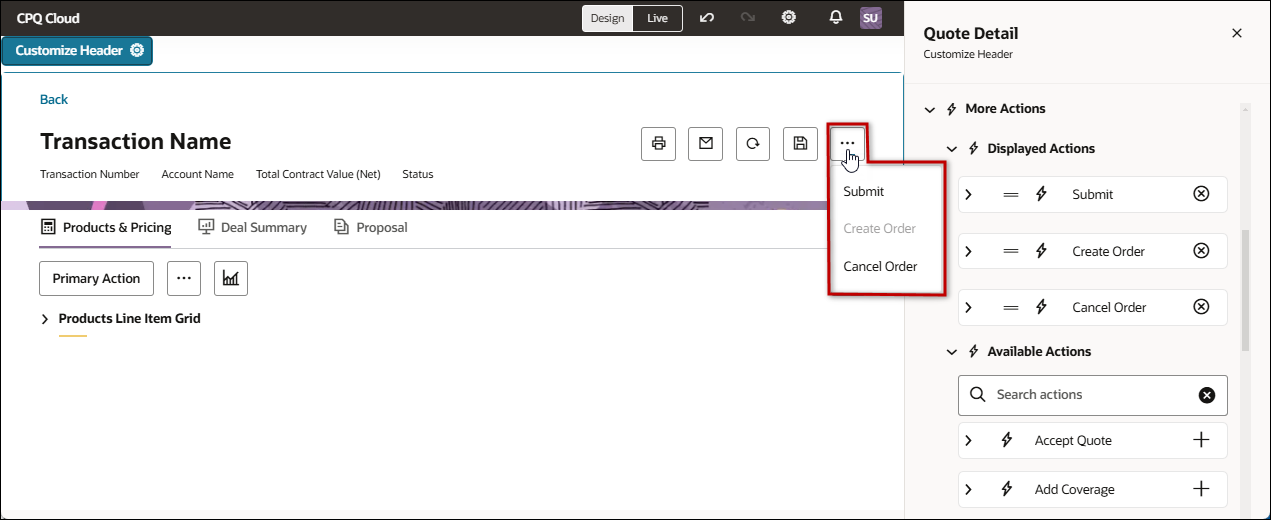
J. More Actions
![]() Customize the Header More Actions Drop-Down
Customize the Header More Actions Drop-Down
-
Click More Actions.
-
Click Displayed Actions to view actions displayed in the header More Action drop-down.
-
Click the action Delete icon
to remove an action from the header More Action drop-down. -
Click Available Actions to view actions that can be added to the header More Action drop-down.
-
Click the action Add icon + to add an available action to the header More Action drop-down.
Ask Oracle Assist Bar
![]() Customize Ask Oracle Assist Bar
Customize Ask Oracle Assist Bar
To access Customize Ask Oracle settings:
-
Open or create a Redwood quote, then click Design.
-
Click inside the Ask Oracle Assist Bar.
-
Click Customize Ask Oracle
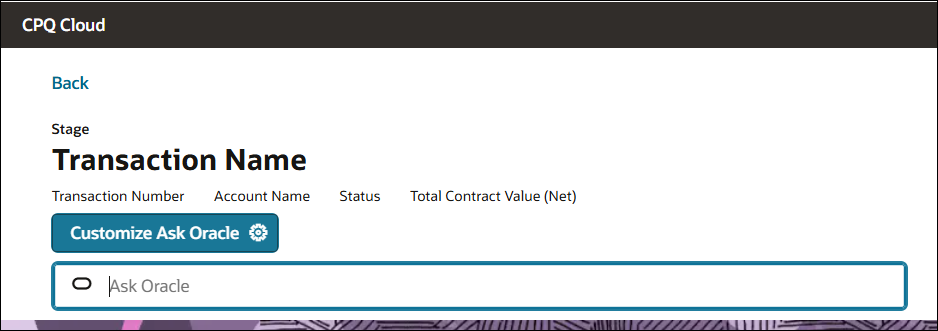
Customize Ask Oracle
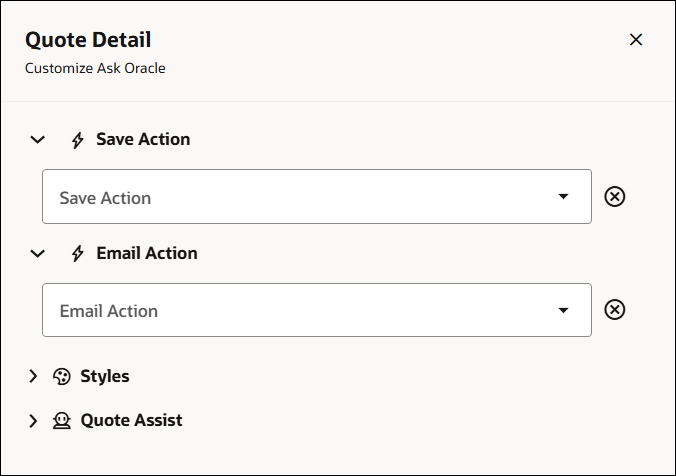
Save Action
Click Save Action.
-
To display a save action in the Ask Oracle assist bar, select an action from the Save Action drop-down.
-
Click the action Delete icon
to remove the save action from the Ask Oracle assist bar. -
Click Advanced to enable a user confirmation prompt or to launch a drawer after the user clicks Save.
-
Open a drawer when the user invokes this action.
-
Select the Launch Drawer After Action setting.
-
Select the desired size from the Customize Drawer Size drop-down.
-
Click the Customize Action Edit Drawer to customize the drawer.
-
Refer to Quote Designer > Redwood Quote Sections for information about adding items and customizing the action drawer.
-
-
Enable a user confirmation prompt.
-
Select Enable confirmation to display a Confirm Action dialog when the action is invoked.
-
Select Mark critical to display a critical Confirm Action dialog when the action is invoked.
-
Email Action
Click Email Action.
-
To display an email action the Ask Oracle assist bar, select an action from the Email Action drop-down.
-
Click the action Delete icon
to remove the email action from the Ask Oracle assist bar. -
Click Advanced to enable a user confirmation prompt.
-
Select Enable confirmation to display a Confirm Action dialog when the action is invoked.
-
Select Mark critical to display a critical Confirm Action dialog when the action is invoked.
-
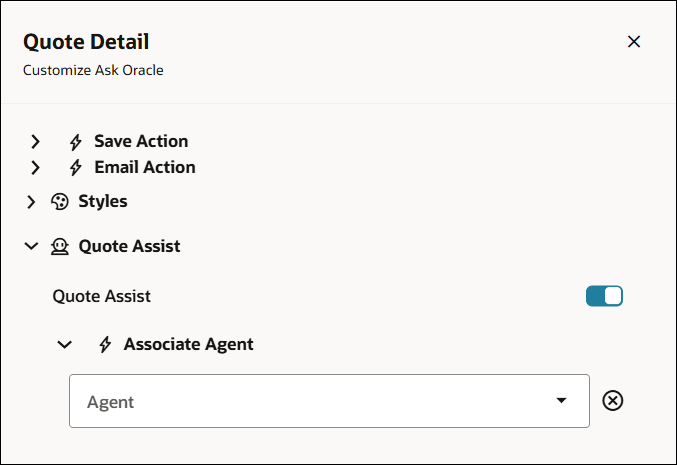
Quote Assist
Refer to Enable Quote Assist Agent to enable a conversational chat experience for the Redwood Quote UI.
You can enable a conversational chat experience embedded within transactional pages by uploading PDF document resources. This enables users to ask questions and receive precise, context-driven responses derived directly from the uploaded resources. For more information, refer to How do I set up AI Agents for Redwood pages?
Prior to enabling the Quote Assist Agent in CPQ, you need to set up an AI Agent for Redwood pages.
![]() Set Up AI Agents for Redwood Pages
Set Up AI Agents for Redwood Pages
Complete the following tasks to set up the Assist Agent, configure options as noted below:
-
Access - Grant privileges for the user to access the Configure HCM Agents Admin page.
-
Privilege: HRC_MANAGE_AI_AGENT_PRIV
-
-
Profile Options - Verify the following profiles options are set to Y at the site level:
-
Profile Option Code: ORA_HCM_VBCS_PWA_ENABLED
-
-
Configure Tool - Configure the AI Agent to add documents.
-
Configure Agent - Create an agent and bind it to the tool.
-
Note: For the Agent Category select Other
-
-
Run ESS Process - Ingest the attachments.
![]() Enable the Quote Assistance Agent in the Redwood Quote UI & Redwood Quote List
Enable the Quote Assistance Agent in the Redwood Quote UI & Redwood Quote List
Complete the following steps to enable the Assist Bar in the Redwood Quote UI and the Redwood Quote List.
-
Open or create a transaction in the Redwood Quote UI.
-
Click Design to open the Redwood Quote Designer.
-
Click inside the Ask Oracle Assist Bar.
-
Click Customize Ask Oracle
-
Open the Quote Assist section.
-
Enable the Quote Assist option.
-
Open the Associate Agent section.
-
Select the applicable agent from the Agent drop-down.