Overview
CPQ attributes can be added to the Redwood Quote Header, Redwood Quote Sections, the Redwood Quote Line Item Grid, and the Redwood Quote Line Details page.
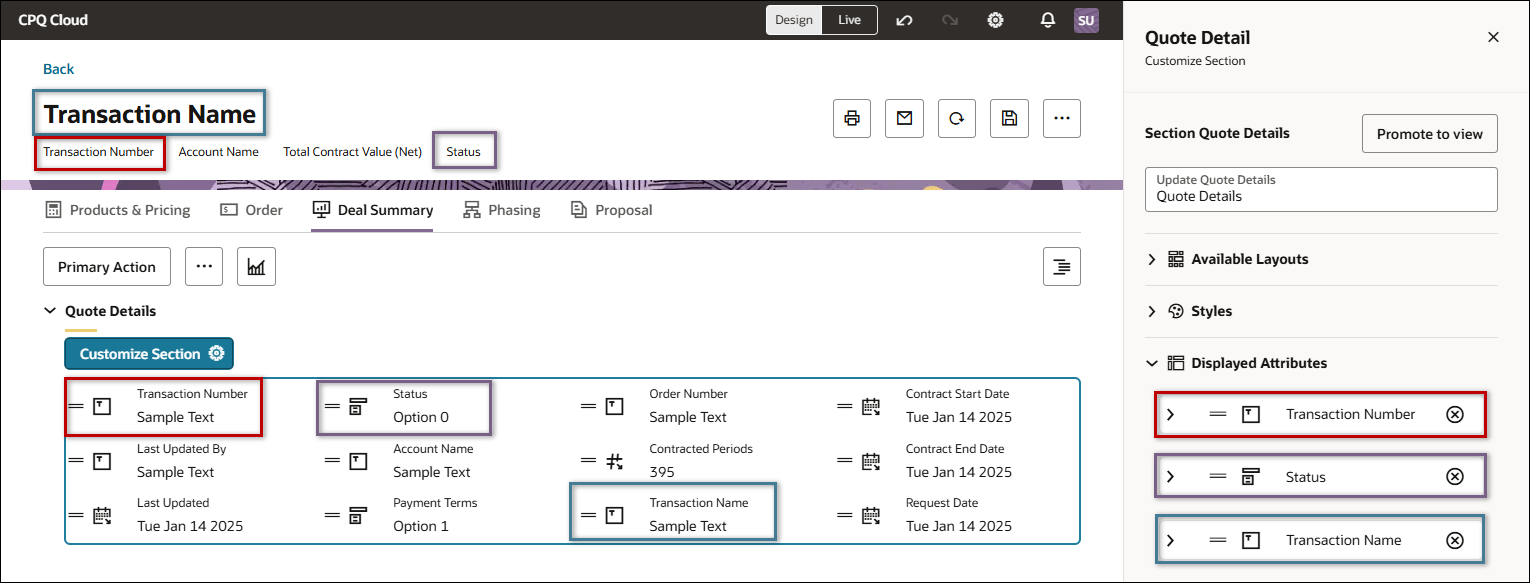
Beginning in Oracle CPQ 25A, multiple instances of same attribute can be added to a layout for Redwood quotes. The attribute can be added to the same or different Redwood Quote views. When the attribute value changes in one place, the other instance values are automatically updated.
For example, the following layout displays the Transaction Name, Transaction Number, and Customer attributes in the Quote header and in the Quote Details section.
Administration
This topic describes customizing attributes displayed as fields in Redwood quote sections.
To access Customize Field settings:
-
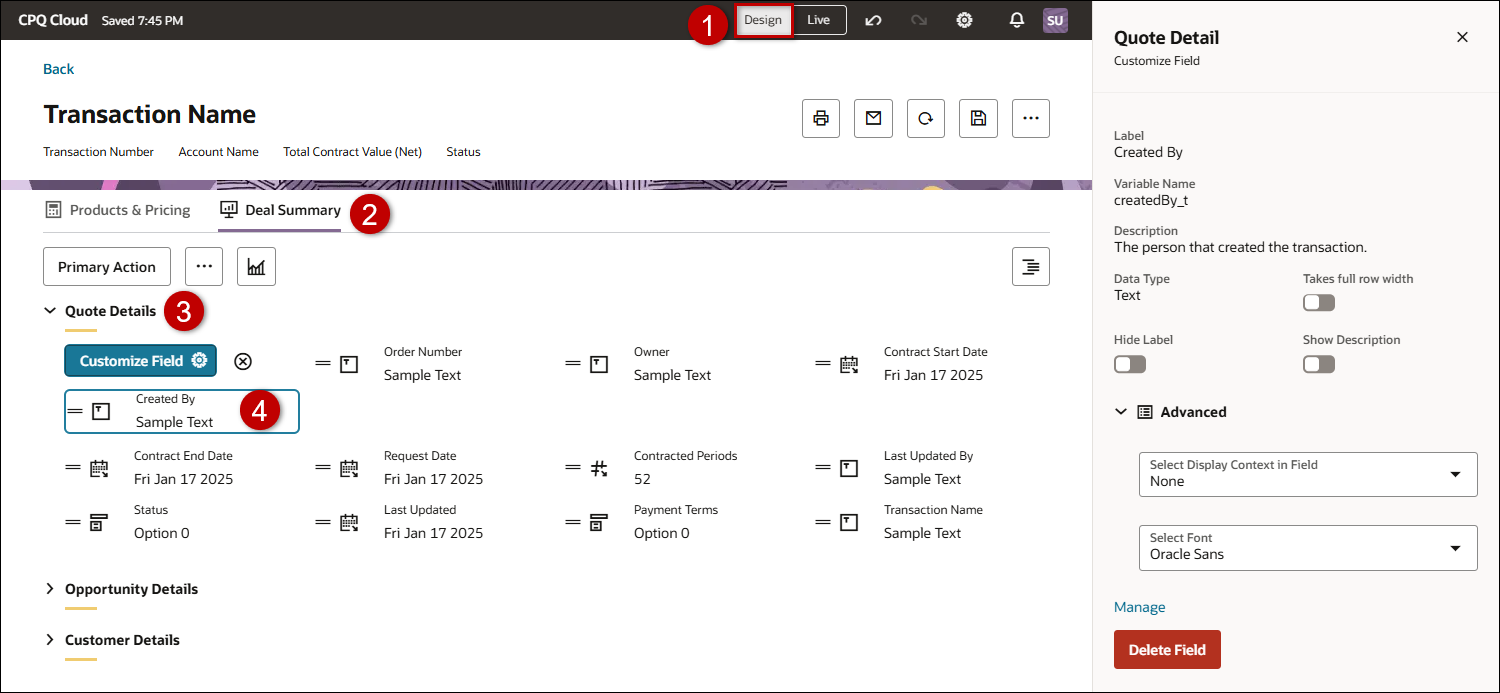
Open or create a Redwood quote, then click Design.
-
Click the applicable view.
-
Click the applicable section.
-
Click on the applicable attribute.
-
Click Customize Field

-
Enable the Takes full row width option to expand the field to the entire width of the section.
-
Enable the Hide Label option to hide the attribute label.
-
Enable the Show Description option to display the attribute description.
Use this option to display action(s), a visualization, an attachment, or HTML in an attribute field.
For example, you want to see a visualization linked to total price. You can select total price field, then choose display context as visualization, and select the required visualization attribute.
-
Click Advanced.
-
Chose the applicable Select Display Contents in Field option.
Option Description None
Display the attribute field only. Actions
Display actions with an attribute field.

-
Click Displayed Actions to view the action(s) displayed in the attribute field.
-
Click the action Delete icon
 to remove an action from the attribute field.
 -
Click Available Actions to view actions that can be added to the attribute field.
-
Click the action Add icon + to add an available action to the attribute field.
Live View
-
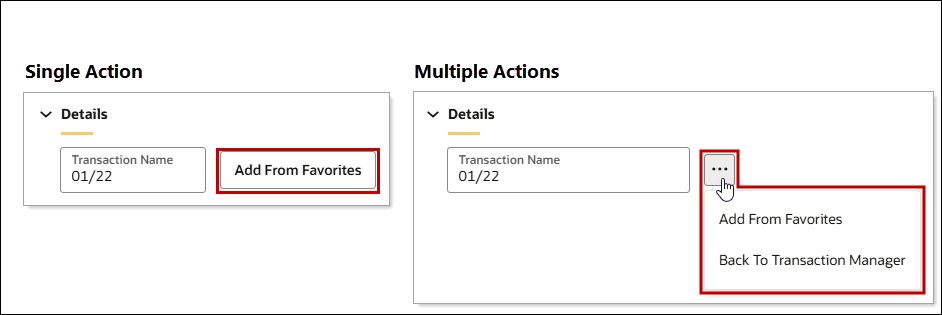
An action button is displayed If a single action is selected.
-
An action drop-down is displayed if multiple actions are selected.
Visualizations
Display a visualization with an attribute field.

-
Select a visualization from Display Context Value.
-
Select the drawer size from Customize Drawer Size.
Attachments
Display an attachment with an attribute field.
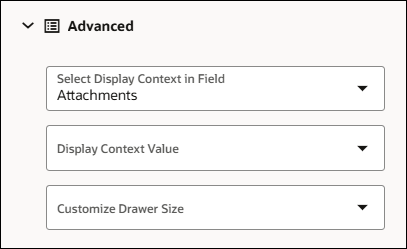
-
Select an attachment from Display Context Value.
-
Select the drawer size from Customize Drawer Size.
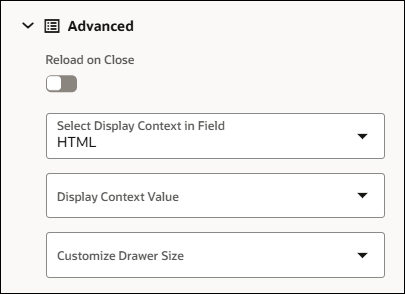
HTML
Display HTML with an attribute field.
-
Enable Reload on Close to refresh the view when a user closes an HTML drawer.
This is used to support use cases where the view's data is modified via HTML fields.
-
Select an HTML attribute from Display Context Value.
-
Select the drawer size from Customize Drawer Size.
-
- Click Advanced.
-
Click Fonts to select a font for the current attribute field.
-
Click the Manage link to navigate to the Commerce Attribute Editor.
-
Refer to Commerce Attributes for more information.
-
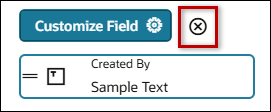
Click Delete Field to remove an attribute from the layout.
-
You can also click the Delete icon next to Customize Field to remove an attribute.
-
Open or create a Redwood quote, then click Design.
-
Click the applicable view.
-
Click the applicable section.
-
Click Customize Section
-
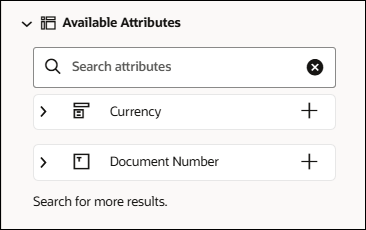
Click Available Attributes to view and search for an attribute to add to the section.
-
Click the Add icon + to add the associated attribute.