Overview
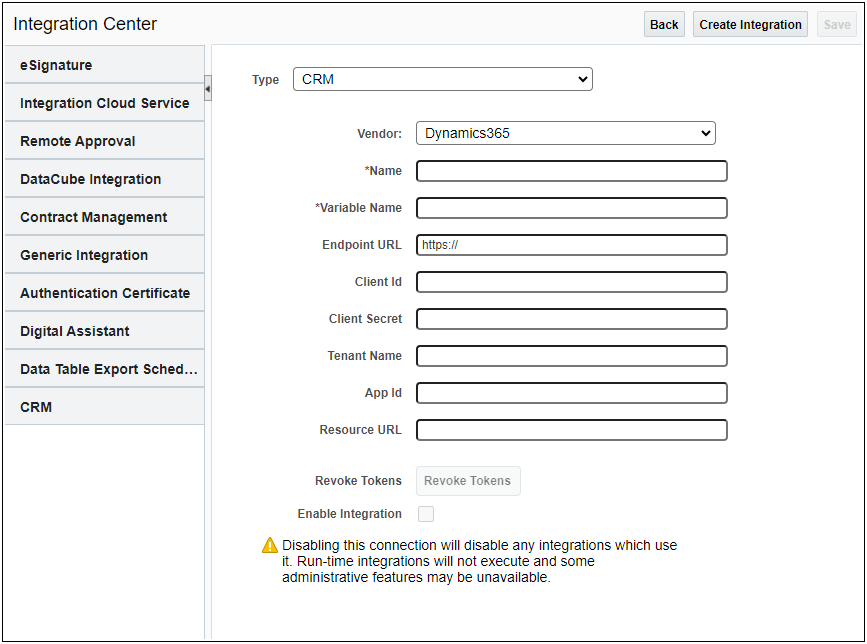
Beginning in Oracle CPQ 24A, the Microsoft Dynamics 365 CRM integration type is added to the Oracle CPQ Integration Center. This feature streamlines the set up and management of the connection(s) between Oracle CPQ and Microsoft Dynamics. This new interface allows administrators to directly configure the details of the Dynamics environment without the assistance of customer support. New and existing Dynamics 365 CRM integrations will use these properties when making Web Service calls to Microsoft Dynamics 365.
The Microsoft Dynamics 365 CRM integration in the Integration Center supports three states, as follows
-
No CRM Integration setup – Oracle CPQ to Microsoft Dynamics 365 integration is not set up and does not yet exist.
-
Enable Integration checkbox Not Selected – The administrator has started to set up the Microsoft Dynamics 365 CRM integration but the integration connection is not active. In this state, no calls to Microsoft Dynamics 365 can be made. This includes calls for buy-side integrations, user token generation, and administrative testing.
-
Enable Integration checkbox Selected/Integration Fully Active – The administrator has set up the Microsoft Dynamics 365 CRM integration and the integration connection is active between the two applications. When active, the integration exists and administrator can entirely configure CRM integrations, and the user-side will execute those integrations.
Administration
NOTES
Notes:
-
Once a Microsoft Dynamics 365 CRM integration is enabled, you cannot enable another CRM integration.
-
Upon upgrade to Oracle CPQ 24A, the following Microsoft Dynamics 365 fields are auto-populated in the Microsoft Dynamics 365 CRM Integration Center: Name, Variable Name, Endpoint URL, Client Id, Client Secret, Tenant Name, Resource URL, and App Id. The Name of the integration can be changed after it is automatically generated.
-
A new Revoke Tokens button is added to the Microsoft Dynamics 365 CRM Integration page. This button allows administrators to revoke all authentication tokens associated with the Microsoft Dynamics 365 CRM integration
-
Oracle CPQ is not certified to support Oracle Identity Cloud Service (IDCS) and Microsoft Dynamics 365 CRM Integration simultaneously.
-
Refer to the Oracle CPQ Connector for Microsoft Dynamics Installation and Setup Guide for detailed instructions.


